Adding Renovate dependencies manager
Keeping project dependencies up-to-date is an important task. Doing it manually is hard and time consuming, so it's better to use tools for that.
Created at:
Last updated:

Keeping project dependencies up-to-date is an important task. Doing it manually is hard and time consuming, so it's better to use tools for that.
Created at:
Last updated:
Ensuring that dependencies remain up to date in our projects is crucial for preventing security issues and making our applications less vulnerable. One approach is to manually maintain our dependencies, periodically checking for updates and applying upgrades by hand. However, this method is not optimal. It is time-consuming and error-prone, as we may accidentally overlook something or the schedule we set for reviewing our dependencies might occur so infrequently that our code could miss important security updates since the last check.
There is a variety of tools which can help us identify vulnerabilities in our dependencies. There are also tools which are constantly checking for newer versions and open PRs with the upgrades.
Today we are going to add renovate to our Nextjs markdown blog project, so we can keep our dependencies up-to-date.
Let's take a look at two most popular tools nowadays.
Dependabot is a popular, automated dependency management tool used by software development teams to keep their project dependencies up to date. It continuously monitors the dependencies of a project and automatically creates pull requests to update them whenever new versions are released or security vulnerabilities are identified. Dependabot supports a wide range of package managers and programming languages, making it a versatile solution for maintaining dependencies across different types of projects. By automating the process of dependency updates, Dependabot helps teams ensure that their software remains secure, stable, and up to date with the latest features and fixes.
Renovate is an automated dependency management tool similar to Dependabot, but with some unique features and advantages. Like Dependabot, Renovate monitors project dependencies and automatically creates pull requests to update them when new versions or security patches are released. However, Renovate offers several benefits that make it stand out:
Customization: Renovate provides extensive configuration options, allowing users to tailor the update process to their specific needs and preferences. Users can define update policies, ignore certain dependencies, and customize the timing and frequency of updates.
Support for Multiple Platforms: Renovate supports a wide range of package managers and programming languages, including NPM, Yarn, Pip, Maven, Docker, and more. This versatility makes it suitable for projects using diverse technologies.
Flexible Update Strategies: Renovate offers different update strategies, such as "schedule" (regularly scheduled updates), "merge" (updates are only applied if they pass tests and merge cleanly), and "rebase" (updates are rebased onto the latest base branch). This flexibility allows teams to choose the update strategy that best fits their workflow and quality assurance processes.
Integration with CI/CD Pipelines: Renovate seamlessly integrates with continuous integration/continuous deployment (CI/CD) pipelines, allowing updates to be automatically tested and deployed as part of the development workflow. This streamlines the process of keeping dependencies up to date and ensures that updates are thoroughly validated before being merged into the main codebase.
Community and Support: Renovate has an active community of users and contributors who provide support, share best practices, and contribute to the tool's development. The Renovate team is responsive to feedback and actively maintains the project, ensuring that it remains robust and up to date.
In summary, while both Dependabot and Renovate offer automated dependency management capabilities, Renovate's flexibility, customization options, and wide platform support make it a compelling choice for teams looking to streamline their dependency update process and maintain control over their development workflow.
As mentioned before, we are going to add this manager to the Next.js project we were working on in the other series on this blog, but what we are about to do in this article can be applied to any GitHub repository, so you can follow with the course applying the changes to any repository you like.
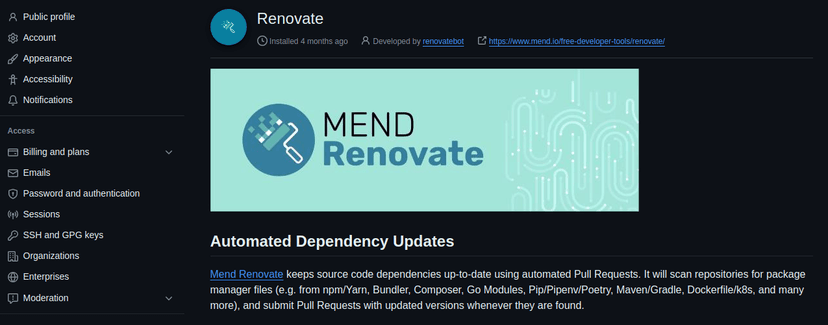
The first step is to install Renovate app in our repository. To do so we have to go to the renovate app page and click on the configure button. Then we select the organization in which we are going to set up the app.
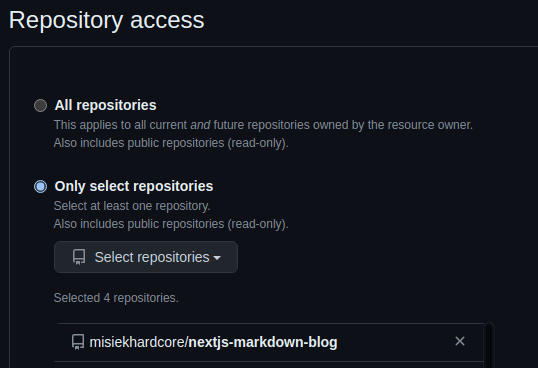
Next, we have to scroll down to "Repository access" section where we can add repositories in which we want the app to run. We click on "Only selected repositories" and we add in our case , or any other repository you want. Then we click on "Save".
After that we move through couple of confirmation forms where we basically click on "Continue" and we are redirected to the Renovate dashboard page.
Now we open pull requests section in our repository and we can see one new PR opened there called "chore: Configure Renovate". This PR is adding basic renovate config file.
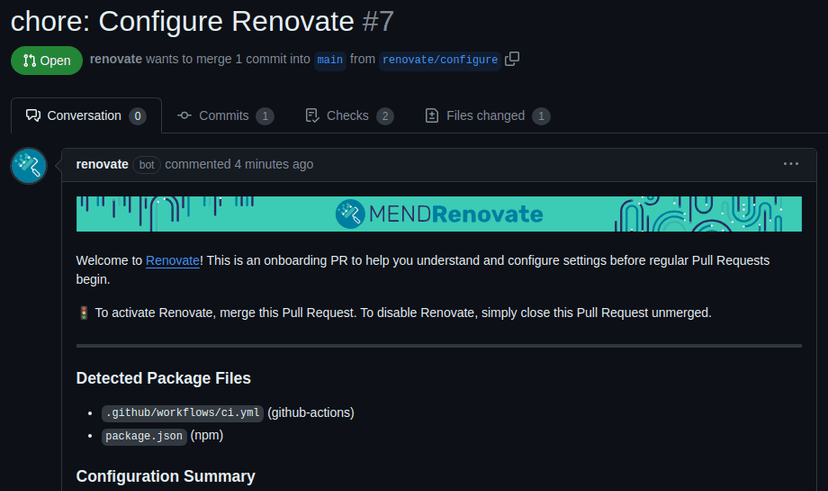
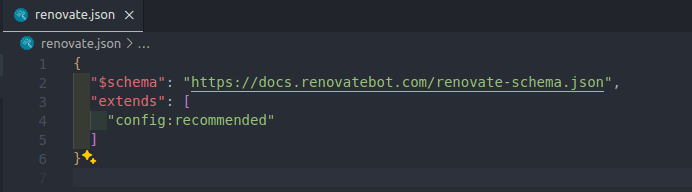
What it does, it simply creates in the root of our project. This file is the place for adding all the renovate configuration. We merge this PR, so we can move forward.
After merging the initial PR, we have to wait few minutes for Renovate to run and read the config. After that time, we navigate to the issues section in our repository, where we can now see one new issue - Dependency Dashboard. This is an automatically generated issue with an overview of all dependencies updates.
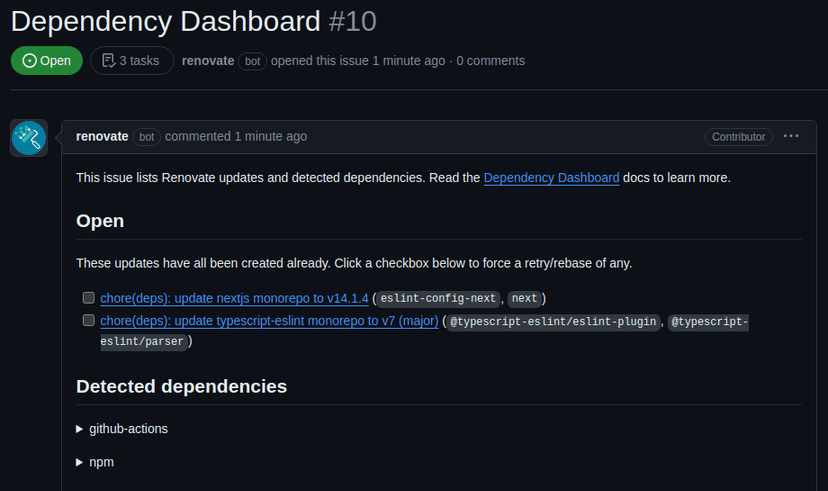
From here we can easily rebase the PRs, see pending ones and force their creation. We can also see that we already have two PRs which we can open and merge.
In most cases this initial config works just fine, but the huge list of possible configurations allows you to cover even the most complex use-cases.
To give you an example of what we can specify in the config, we are going to update the file. To do so we open our repository in VS Code, and we have to pull the latest changes on branch, as we have just merged the base config file. After that we can create new branch, and we can open the file.
All the possible configurations are well described in the official docs. I really encourage spending some time to get familiar with the concepts. Renovate provides also a long list of presets. They have some predefined configs, so we don't have to do everything ourselves.
But let's look at the config I would like to use, and we can look at it line by line.
Extends: This section extends Renovate's recommended configuration with additional features and helpers to enhance the functionality. To this section we add the before mentioned presets. For instance, it includes configurations for managing GitHub Actions, enforcing semantic commits, and handling vulnerability alerts.
Minimum Release Age: Defines the minimum age (3 days in this case) a release must be before Renovate considers updating to it. This helps avoid immediate adoption of potentially unstable releases.
Schedule: Specifies when Renovate should run. In this case, it's set to run every weekday, ensuring that updates are checked regularly during working days.
Pull Request (PR) Settings: Configures parameters related to pull requests, including the maximum number of concurrent PRs (20), and provides notes to include in PR bodies, especially for major version updates.
Base Branches: Defines the branches where Renovate should create pull requests. Here, it's set to
Package Rules: Defines rules for labeling packages based on their language and package manager. For example, JavaScript packages are labeled as , while packages managed by Docker and GitHub Actions are labeled as .
The next three configs basically enable auto-merge for the corresponding dependency types
Platform Auto-merge: Disables automatic merging system provided by GitHub. I want Renovate to use its own system to handle auto-merges.
Having this in place we can commit the changes.
As an extra step here we are going to create a GH action which will check if the config changes we have made are valid and can be safely used.
To do so let's create file in . This workflow is very simple and looks like this:
If you haven't seen Creating a GitHub workflow to run CI, please check it now as I describe all the concepts and building blocks of GitHub actions and I am not going to explain them here.
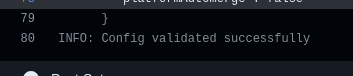
Basically what we do here except from checking out the branch and installing Node, we are running package against our config file. If we commit the changes now and open a pull request, we now see out new workflow on the list of checks.

If we now open the details of this run we can see how our action is doing.

And finally after few moments the pipelines finishes successfully.
And this is all in this article. We learned how important keeping our dependencies up to date is and how we can use a tool like Renovate to take care of this for us.
Don't forget to merge the changes and I hope to see you soon in the next article!
Please Sign in to leave a comment.